The Perfect Night Time Skincare Routine
When you look after your skin, the results offer a radiant, healthy complexion. Investing in good quality skincare is a crucial step in slowing down the natural signs of ageing and combatting numerous skin concerns from acne scarring to oil control and much more. The ideal skincare routine should include a well-curated morning and night time skincare routine, and to help you achieve that, we’ve asked the most sought after skin care expert, Sarah Chapman to introduce you to the perfect night time skincare routine.
Meet The Expert: Sarah Chapman
Sarah Chapman is an award-winning skincare expert, facialist and product innovator, best known as the founder of the Sarah Chapman Skinesis skin care line. As one of London’s most sought after facialists, Sarah knows a thing or two about attaining beautifully healthy and radiant skin.
Which order to apply night time skincare
- Cleanse your skin
- Exfoliate your skin
- Treat your skin
- Apply Eye Cream
- Moisturise
- Massage your skin
Step 1: Cleanse your skin
Sarah says she often finds that cleansing is a hugely underrated step and overlooked by so many. Removing any grime, makeup, pollution and sebum that has collected in the pores will allow your skin to function properly, as well as enabling your other skincare products to penetrate.
Sarah recommends choosing an oil‐based cleanser, as this will be most effective at breaking down other oils like sebum or makeup residue, without upsetting the skin’s delicate acid mantle. Oil attracts oil, allowing your cleanser to melt into your pores to break down any blockages, leaving skin purified but not dry or tight. Take some time to really massage your chosen formula into your face and neck, or apply a generous layer before a warm bath or shower for a deep cleanse.
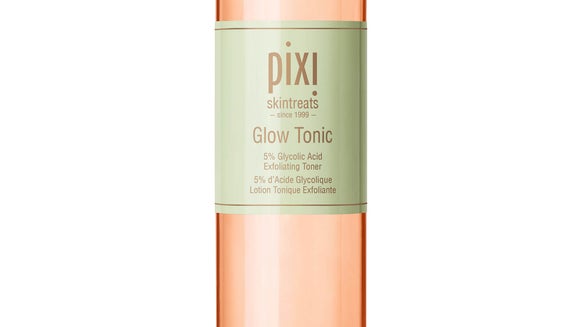
Step 2: Exfoliate your skin
Sarah recommends using a daily exfoliant to help reduce dullness or flakiness and allow the rest of your skincare to penetrate. She also recommends to avoid harsh, scratchy scrubs as she often meet clients who have damaged their skin with excessive physical exfoliants or microdermabrasion. Tearing the skin with crystals, micro‐beads and sharp granules has a thinning effect, and since your skin is your body's first line of defence, it also destroys your natural barrier against the environment.
Instead, she recommends using an acid exfoliant. Lactic, phytic and fruit acids are ideal for most complexions, as they’re gentle yet effective – lactic acid can even help to moisturise the skin. These actives work by dissolving the bonds between dull, dry or dead cells, allowing them to be swept away to reveal a smooth, bright complexion.

297 reviews
Recommended Retail Price: 50 AEDCurrent price: 34 AED

92 reviews
27 AED
Step 3: Treat your skin with a serum or mask
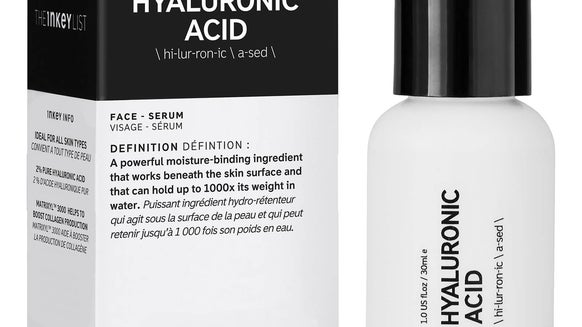
Now you’ve removed any surface debris, it’s time to tackle specific concerns with a serum or mask. If your skin is dehydrated, look for a serum or mask that contains hyaluronic acid – this hydrating ingredient can hold up to 1,000 times its weight in water in the skin to instantly replenish moisture levels.
If you’re concerned with dullness or uneven skin tone, try a vitamin C‐rich formula – this actively inhibits melanin production, reducing and preventing hyperpigmentation.
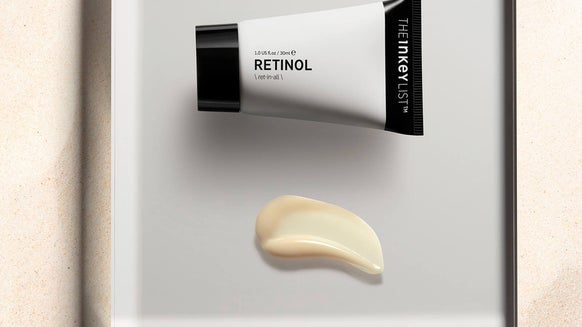
Night‐time is also ideal for treating signs of ageing. Sarah explains that between 11 pm and 4 am, the rate at which our skin cells renew doubles or even triples – formulas that contain rejuvenating actives like vitamin A and collagen‐stimulating peptides will help to support and enhance this natural process. Vitamin A is the gold‐standard for rejuvenation: it stimulates cellular renewal to fade away fine lines and wrinkles and promote firmer, healthier, more youthful‐looking skin. With many of us unable to enjoy clinical facials at the moment, or simply looking to upgrade our at-home regimes, you could also incorporate a device into this step of your regime. Look for devices that use professional‐standard technology, like micro-needling systems, ionically charged steamers, and facial massagers, to give yourself a clinical‐style treatment at home.

86 reviews
45 AED
Step 4: Apply Eye Cream
The skin around our eyes is extremely thin – approximately 0.5mm – and very delicate, so can be prone to showing signs of ageing and fatigue. This area also has unique concerns such as sagging eyelids, crow’s feet, and dark circles; so I recommend using a specially formulated eye product.
Hyaluronic filling spheres are one of my top ingredients for this area – they absorb moisture and immediately expand, smoothing out fine lines and plumping up crepey skin. If you suffer from dark circles, these are often caused by poor circulation (blood pooling beneath the eyes) – look for Eyeliss™ and Haloxyl™ peptides, which will stimulate circulation and thus help to reduce both dark circles and puffiness. It’s important to treat this area gently – whichever formula you use, pat it on with your ring fingers to avoid tugging at the skin.

91 reviews
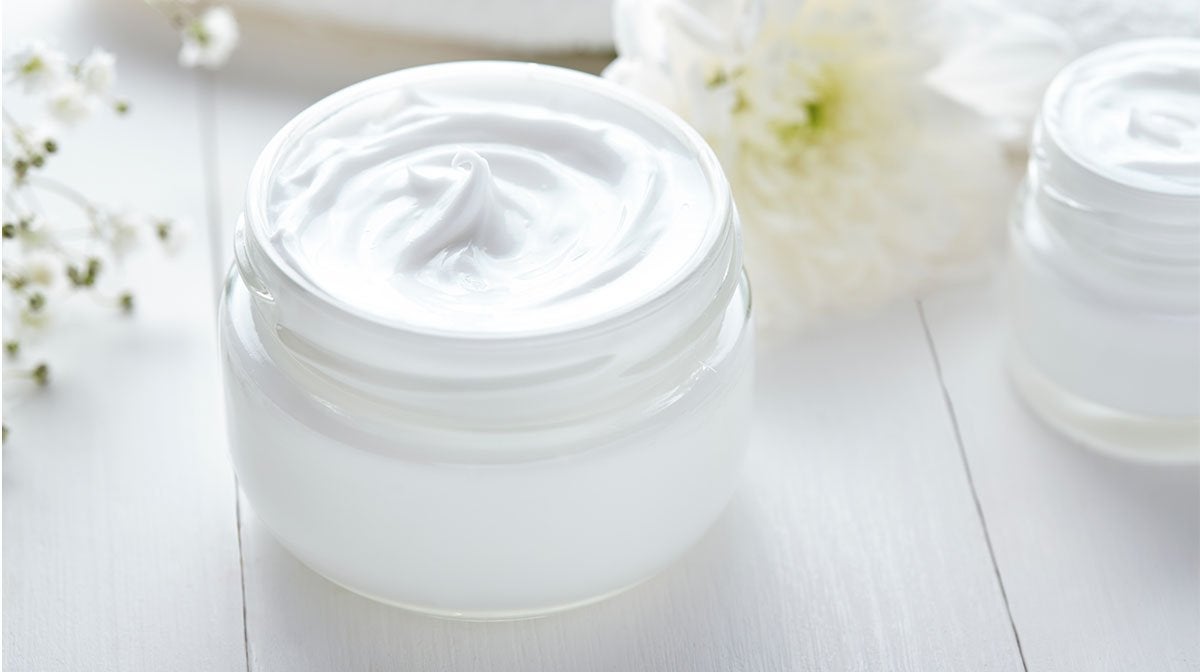
Step 5: Use A Moisturiser
At night, transepidermal water loss can increase by up to 25%, so it’s vital to moisturise before bed. A good moisturiser will also help to lock in all of your other skincare products, as well as supporting skin’s natural barrier to combat irritation and sensitivity.
Ceramides are excellent at keeping skin moisturised: these fatty acids help the complexion to retain healthy hydration levels and encourage the production of more lipids. Whilst your body naturally produces ceramides, these do diminish with age, as well as during the colder months. Sarah recommends finishing with an oil‐based elixir. Oils can penetrate deep into the skin through the lipid pathways, enabling them to deliver actives to the skin at a cellular level for a profound effect. They are also highly effective at sealing in hydration from any serums or creams you’ve already applied.
Look for an oil that’s rich in omegas – these fatty acids strengthen and support the cellular membranes, helping your complexion to stay hydrated and resilient. Don’t forget the lip area – the thin, sensitive skin here doesn’t have oil glands, so it is especially vulnerable to dryness. Look for a lip treatment that contains nourishing natural oils, protective antioxidants, and soothing anti‐inflammatories.
Step 6: Massage your skin
Sarah says that a massage is unbeatable for enabling optimal skin function, boosting brightness, sculpting the facial contours and revitalising tired, sluggish skin. It improves circulation, helps to drain away toxins, prevents puffiness and breakouts, and oxygenates the skin cells. Oxygenating the skin aids cellular performance – if a fibroblast cell is stimulated and fed with nutrients and oxygen, it will produce more collagen, for firmer, more supple skin.
How to perform the perfect facial massage
- After you have applied your night cream or elixir, create a loose fist with both hands, your palms facing your chin, and use your knuckles to massage all over your lower face, working from the centre outwards towards your ears and down the sides of the neck. Remember that you are always draining towards your lymph nodes.
- Use your knuckles in a rotary motion all over the face, and then tap your fingertips lightly over the skin and eyes.
- Next, put your hands into a prayer position and place them on the centre of the face, then separate your hands, smoothing the outer edges of the face and sculpting under the cheekbones.
- Finish by draining down the sides of the neck to the collarbone. Your complexion will be left plump and bright, with a rosy post‐facial glow.
Discover more from all the brands featured in the edit:

I've been writing about hair and beauty for over 10 years. I am a collector of vintage perfume and my go-to look always includes a bold pink lip! For more, visit https://www.goodgollymisshollie.co.uk